Android Wear & A Sentient 8tracks
September 11, 2015
8tracks
android
wear
nlp
Android Wear has been around for well over a year now. Last summer, we dreamt of making a wearable app and even had a small working prototype. Alas, it stayed just that–a prototype. Fast-forward to summer 2015, and after a couple of Android Wear updates, Google has ironed out some of the problems we saw last summer. On top of that, there are more APIs available as well as open source projects to help us release a top quality app.
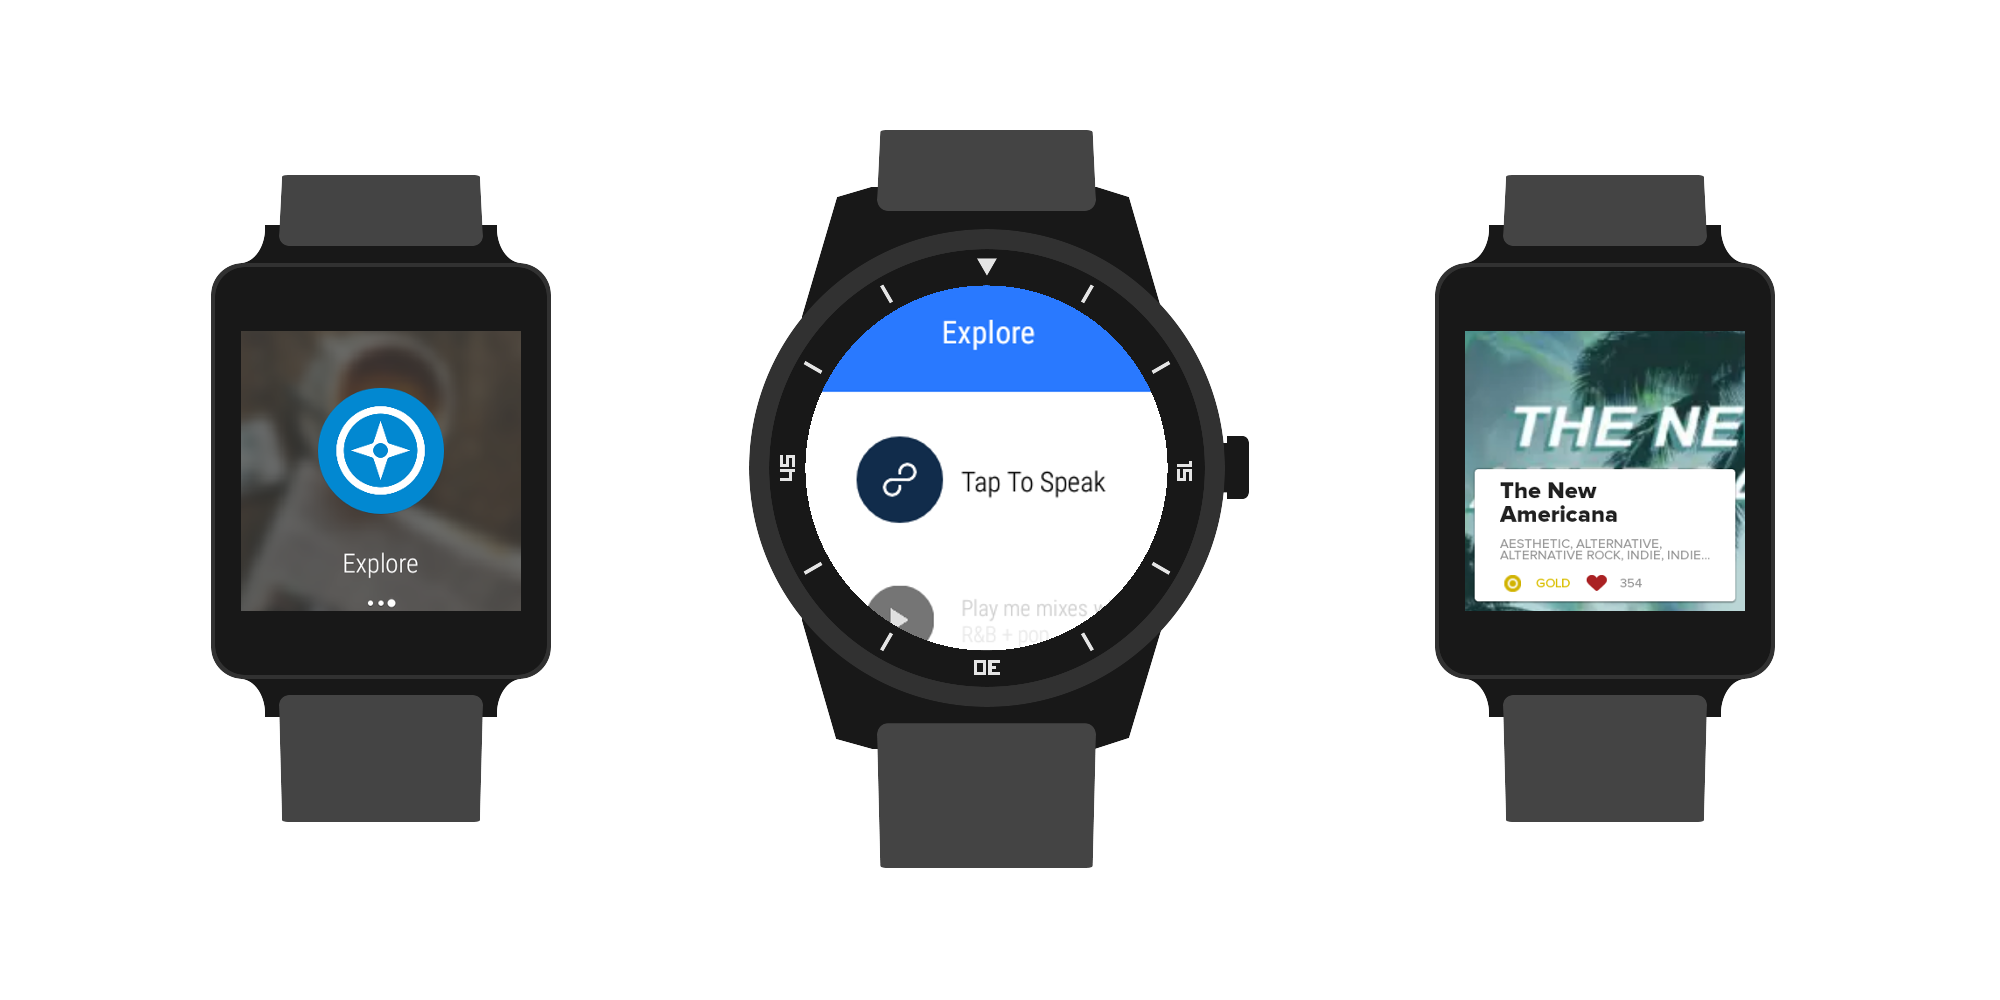
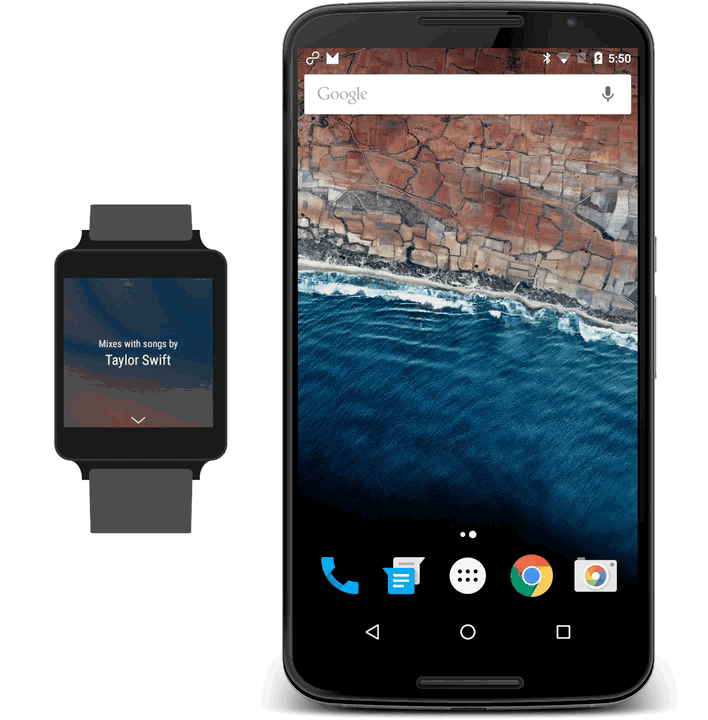
You may remember that earlier this year we released an update to our iOS app with support for the Apple Watch. It allowed listeners to play popular collections of playlists on topics like “workouts”, “party”, and “staff picks.” But with Wear we wanted to try something different: an app fully focused on exploring and discovering new music. The question then became: how can we design the 8tracks Explore experience to be as simple and seamless as possible?
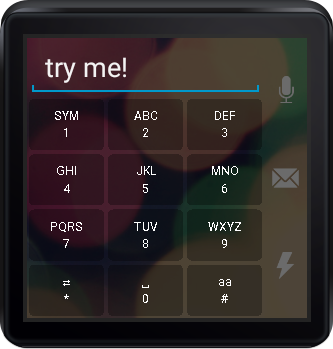
While apps do exist that let you type on-screen, we wanted to avoid it.
During the design stage, we thought about different ways to explore playlists. We wanted the journey to be open-ended, allowing the listener to search for whatever they want. Google’s UX guidelines put a heavy emphasis on voice input. This makes sense because when you have such little screen real estate it can be close to impossible to enter text using an on-screen keyboard. We’ve seen a few apps using on-screen keyboards, letting you reply to text messages using the old-school keypad layout, but for our purposes, we wanted something faster. So we opted to use Google’s built-in Speech APIs, which has been honed over years.
Our own take on Google’s listening prompt.
Google offers you two options when it comes to speech input. You can either (A) pass the job off to Android Intent, which will show the familiar red, pulsating listening prompt or (B) roll your own UI and request the text from live audio. While using an Intent is the encouraged route to take, it means leaving the 8tracks app and switching to Google’s own UI while listening. We felt like we could mimic the same UI inside our own app with our own twist.
More Than Meets The Eye
Once we received the text from the Speech APIs we realised we had a larger problem on our hands. Given a phrase like Play me smooth jazz, how could we return a set of playlists tagged “smooth jazz”? To conquer this, we delved into the depths of Natural Language Processing (NLP) to help provide more insight into the structure of the phrase. Using the collection of Stanford NLP software, we could analyse each word in the phrase and find information such as Parts Of Speech (POS), Named Entities, and Coreference Chains. After experimenting with these different features, we settled upon the Part Of Speech (POS) tagger to help us. The POS tagger tells us, for a given word, which category of word it is–verb, adjective, noun etc.

Some preliminary UX design sketches for the Android Wear app.
With this newfound knowledge, we formed a method of parsing a phrase. We would traverse the phrase in reverse order through pairs of words (known as bigrams) looking for what we considered to be a border between playlist tags and the text that comes before. Determining that a bigram was a border would imply that we had reached the end of the tags section.

For example, “Play me smooth jazz” would be split into “play me” + “smooth jazz” because we recognise the bigram border “me smooth”.
This worked reasonably well as we hand coded these values into if/else statements. We knew not to be too specific or we’d overfit our data so the border we looked for was actually a POS tag border rather than the words themselves. Thus, in the last example we would actually match “pronoun verb” instead of “me smooth.” As I mentioned before, this worked reasonably well, but only on phrases that we could foresee being spoken–as soon as we gave it to a friend or colleague to test and they came up with a new phrase we hadn’t thought about, it would break. We definitely didn’t want to be continuously updating the code every time we heard a new phrase.
Take 2
We set to work on a new way of checking these borders between words. We ended up going through tens of thousands of user-generated playlist tags used to categorize our playlists, and we parsed each and every one for a POS tag. We then tried to collect some different leading phrases that might appear before the playlist tags (like “play me some”), but this time, we wouldn’t need to think of every phrase. The aim of collecting these leading phrases was to try to find the different ways they could end, right before the playlist tags appear in the sentence. We then took the bigram (two words) that we found at the end of each leading phrase and combined each word with all the possible POS tags to form a set of word texts and POS tags. From here, we performed a Cartesian product on the set to form pairs of all the possible combinations.
For each of these combinations, we summed how many playlist tags contained the combination, weighted by the number of playlists each tag appeared in. Doing this gave us a mapping between each combination and how likely it was to appear inside a playlist tag.
For each of the combinations, we also counted how many playlist tags start with the second element in the pair. Again, we weighted the counts depending on the number of playlists containing each tag. At that point, we’d done all the computation needed, and it would have taken about 20 minutes to complete the process so far. We then formed a half and a full border array. Both borders signal that the tag section of a sentence has ended but the idea behind a half border is that if we determine “by Taylor” is a half border, we only add “Taylor” to the tag section. A full border could look like “music by” and implies that neither part belongs to the tag section, so we add no more to the tag section. The criteria for whether a bigram belonged in either array was as follows:
A Half Border Must:
- occur in a low % of tags
- have their last word start a high % of tags
- not occur in any leading phrases
A Full Border Must
- occur in a low % of tags
- have their last word start a low % of tags
- occur in at least one leading phrase
Using the above method we came up with hundreds of borders that are backed by real concrete data rather than what us developers could think up. It won’t work with every tag, like “hahaha I don’t know how to tag this” for instance (yes that’s a tag), but it works on the vast majority. The border arrays are saved to a file and used by the web server. This way we can respond to requests in milliseconds, not 20 minutes. In our tests it worked very well, and continues to surprise us with the phrases it can recognize.
Multiple tags are supported too. We separate them by looking for words with the “coordinating conjunction” POS tag. We can recognize tag phrases such as “pop and funk and jazz and…” easily, but more tricky are ambiguous phrases: “bass and drum and electronic” can be parsed as “bass and drum” + “electronic” or “bass” + “drum and electronic.” As we use coordinating conjunctions to separate playlist tags, if we find an occurrence of “and” as well as another coordinating conjunction such as “plus” then we will assume “and” is part of a tag and not split on occurrences of “and.” So the last phrase can be spoken as “bass and drum plus electronic” to get the desired split “bass and drum” + “electronic.” It would be great if we could make the system cleverer at parsing that, possibly based on tag popularity statistics, but for now this does the job.
Where’s the Wear?
Once the server-side part was built and we had a search endpoint we could call, we continued developing the wearable app. After either speaking a phrase or selecting one from the list, we take the user to a loading activity. It’s less like a loading activity in the traditional sense, as the border countdown is not indicative of loading progress. It’s more of a chance to cancel the request in case the detected text is incorrect. This was another UX design hammered home by Google’s guidelines. Having said that, we actually send off the request regardless of whether the countdown has finished, in the hope that we’ll have received the response by the time the countdown ends. If that’s the case, then we can take you straight to the content without needing to show a real loading indicator. If we don’t have the response by the time the countdown ends, then we do show you the indicator.
We send off the request as soon as the countdown begins.
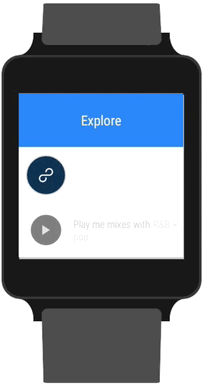
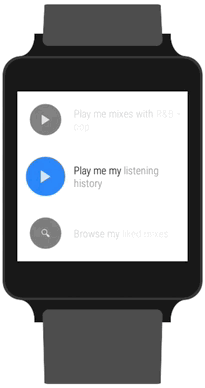
You’re then taken to the final activity where you can browse the resulting playlists. We use Google’s FragmentGridPagerAdapter to help us show the playlists within the design guidelines and provide actions for each row. The first row tells you exactly how we parsed your phrase, so if we got it wrong you know immediately and can try a different one. We take the predominant colors from the resulting playlists and combine them into a gradient background to provide some unique context to the page. From here, you can swipe left to play through all the playlists. If we detected that your phrase implied you want to play rather than browse, then we auto-swipe and begin playing without the need for user interaction. A phrase like Play me smooth jazz will trigger this sort of behaviour. Find me smooth jazz, on the other hand, will not. Each playlist’s row contains actions to play that individual playlist or open up on the phone without playing. It’s a pretty simple structure in truth, but as you’ve read, there are some clever things going on behind the scenes.
Communications
Android Wear doesn’t allow any direct internet connection. All data retrieved comes from a handheld (phone, tablet etc.). Because of this, we have to ask the handheld for sets of playlists and image files. We use Fresco to load images in our Android app and found a nice library called DaVinci that uses Picasso on the handheld to load images and then sends them across to the watch. We forked DaVinci, and Michelangelo for Fresco was born. For data communication between handheld and wearable, we made use of both DataItems and the MessageApi. Using these along with WearableListenerService means you don’t even need 8tracks open on the handheld for the wearable to communicate and function properly. For instance, when you select an action for a playlist, we send a message over the MessageApi.
Images are loaded using Michelangelo and the MessageApi is used to control the handheld.
Notifications
Android has a built-in set of classes to support a concept called MediaSessions. By registering a MediaSession and supplying some metadata about the current track, a media app can allow its playback to be controlled by RemoteControlClients. These can take the form of lock screen controls, a third-party app or music controls on wearables. This latter option is something we wanted to look into more closely. We knew that our wearable app could be started by finding its icon on the wearable’s app launcher, but there was an issue pertaining to visibility. While looking through the wearable app launcher, we noticed apps we never knew we had on our wrist. We wanted users of 8tracks who use Android Wear to know that we had a wearable app and not have to discover it randomly in the app launcher. Google’s Play Music app managed to add extra actions to its music controls notification that let you change and rate tracks and we desperately wanted to do the same thing. The problem was that we couldn’t add actions using the methods described in the Wear Notification documentation because Android was controlling the media notification and we couldn’t manipulate it (we just gave Android track metadata and it automagically made the controls appear). After digging around on and off for weeks, we found a vague single reference to a constant in Google’s Universal Android Media Player (UAMP). Googling the constant gave two results: the UAMP reference and a nice piece of documentation on it:
PlaybackState.CustomAction.Builder actionBuilder = new PlaybackState.CustomAction.Builder(action, name, icon);
Bundle actionExtras = new Bundle();
actionExtras.putBoolean(MediaControlConstants.EXTRA_CUSTOM_ACTION_SHOW_ON_WEAR, true);
actionBuilder.setExtras(actionExtras);
Copying the code across helped us add our own “Explore” action to our music controls that gets you straight into the wearable app! Score!
It’s a small feature, but one we desperately wanted.